对图片和视频进行解密的示例 blob:https://
思路:制作一个播放器,可以选择本地加密文件,需要通过播放器页面输入正确的密钥,将本地文件解密并转成blob地址后,
再进行播放,起到加解密的作用
URL.createObjectURL(file);
Demo:
<!DOCTYPE html>
<html>
<head>
<meta charset="UTF-8">
<meta name="viewport" content="width=device-width, initial-scale=1.0">
<title>Blob URL 示例</title>
<style>
body {
font-family: Arial, sans-serif;
max-width: 800px;
margin: 0 auto;
padding: 20px;
background-color: #f5f5f5;
}
.container {
background-color: white;
padding: 20px;
border-radius: 8px;
box-shadow: 0 2px 4px rgba(0, 0, 0, 0.1);
}
h1 {
color: #333;
text-align: center;
}
.file-input {
margin: 20px 0;
}
.image-container {
margin: 20px 0;
text-align: center;
}
#previewImage {
max-width: 100%;
max-height: 400px;
border: 1px solid #ddd;
border-radius: 4px;
}
.url-info {
margin: 20px 0;
padding: 15px;
background-color: #f9f9f9;
border: 1px solid #ddd;
border-radius: 4px;
}
.url-info h3 {
margin-top: 0;
color: #555;
}
#blobUrlDisplay {
word-break: break-all;
font-family: monospace;
font-size: 14px;
color: #333;
background-color: #f0f0f0;
padding: 10px;
border-radius: 4px;
}
.info {
margin-top: 20px;
padding: 15px;
background-color: #e3f2fd;
border-left: 4px solid #2196f3;
border-radius: 4px;
}
</style>
</head>
<body>
<div>
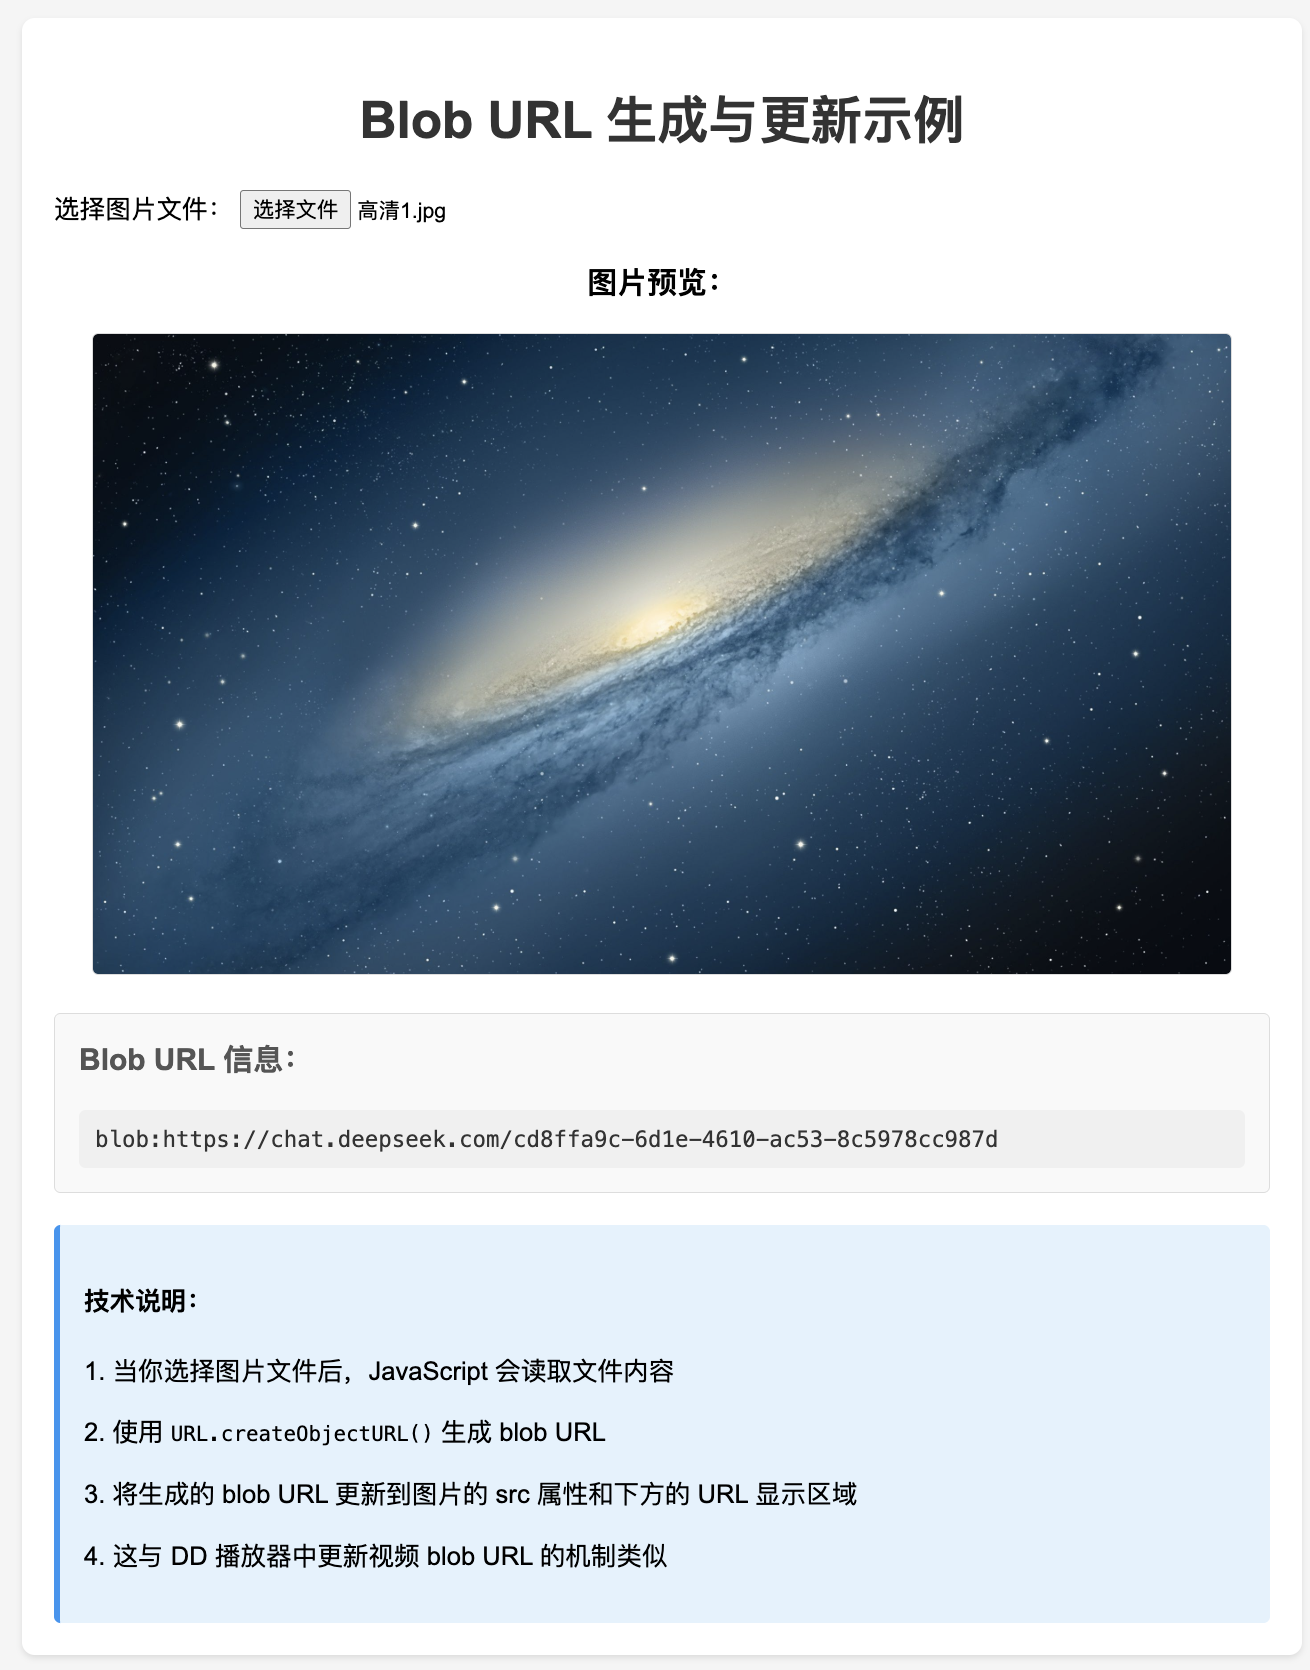
<h1>Blob URL 生成与更新示例</h1>
<div>
<label for="imageFile">选择图片文件:</label>
<input type="file" id="imageFile" accept="image/*">
</div>
<div>
<h3>图片预览:</h3>
<img id="previewImage" src="" alt="预览图片">
</div>
<div>
<h3>Blob URL 信息:</h3>
<div id="blobUrlDisplay" data-image="src">请选择图片文件</div>
</div>
<div>
<h4>技术说明:</h4>
<p>1. 当你选择图片文件后,JavaScript 会读取文件内容</p>
<p>2. 使用 <code>URL.createObjectURL()</code> 生成 blob URL</p>
<p>3. 将生成的 blob URL 更新到图片的 src 属性和下方的 URL 显示区域</p>
<p>4. 这与 DD 播放器中更新视频 blob URL 的机制类似</p>
</div>
</div>
<script>
/**
* 初始化页面事件监听
* 为文件选择输入框添加 change 事件监听器
*/
function initEventListeners() {
const fileInput = document.getElementById('imageFile');
fileInput.addEventListener('change', handleFileSelect);
}
/**
* 处理文件选择事件
* @param {Event} event - 文件选择事件对象
*/
function handleFileSelect(event) {
const file = event.target.files[0];
if (file) {
processImageFile(file);
}
}
/**
* 处理图片文件,生成 blob URL 并更新 DOM
* @param {File} file - 选择的图片文件
*/
function processImageFile(file) {
// 生成 blob URL
const blobUrl = generateBlobUrl(file);
// 更新图片预览
updateImagePreview(blobUrl);
// 更新 blob URL 显示
updateBlobUrlDisplay(blobUrl);
}
/**
* 生成文件的 blob URL
* @param {File} file - 要生成 blob URL 的文件
* @returns {string} 生成的 blob URL
*/
function generateBlobUrl(file) {
// 使用 URL.createObjectURL() 方法生成 blob URL
return URL.createObjectURL(file);
}
/**
* 更新图片预览
* @param {string} blobUrl - 图片的 blob URL
*/
function updateImagePreview(blobUrl) {
const previewImage = document.getElementById('previewImage');
previewImage.src = blobUrl;
}
/**
* 更新 blob URL 显示
* @param {string} blobUrl - 生成的 blob URL
*/
function updateBlobUrlDisplay(blobUrl) {
const urlDisplay = document.getElementById('blobUrlDisplay');
urlDisplay.textContent = blobUrl;
}
// 页面加载完成后初始化
window.addEventListener('DOMContentLoaded', initEventListeners);
</script>
</body>
</html>